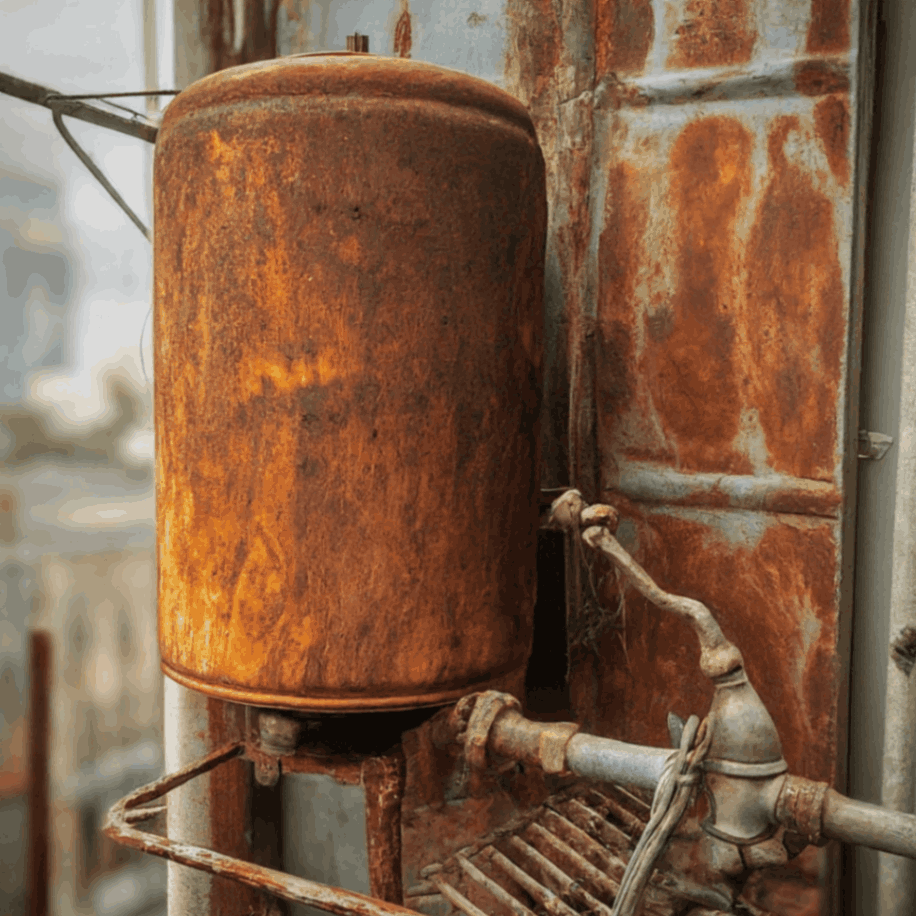
 How To Fix Water Heater Rust?
Rust in water heaters is a common problem caused by the interaction of water and metal, leading to corrosion. ...
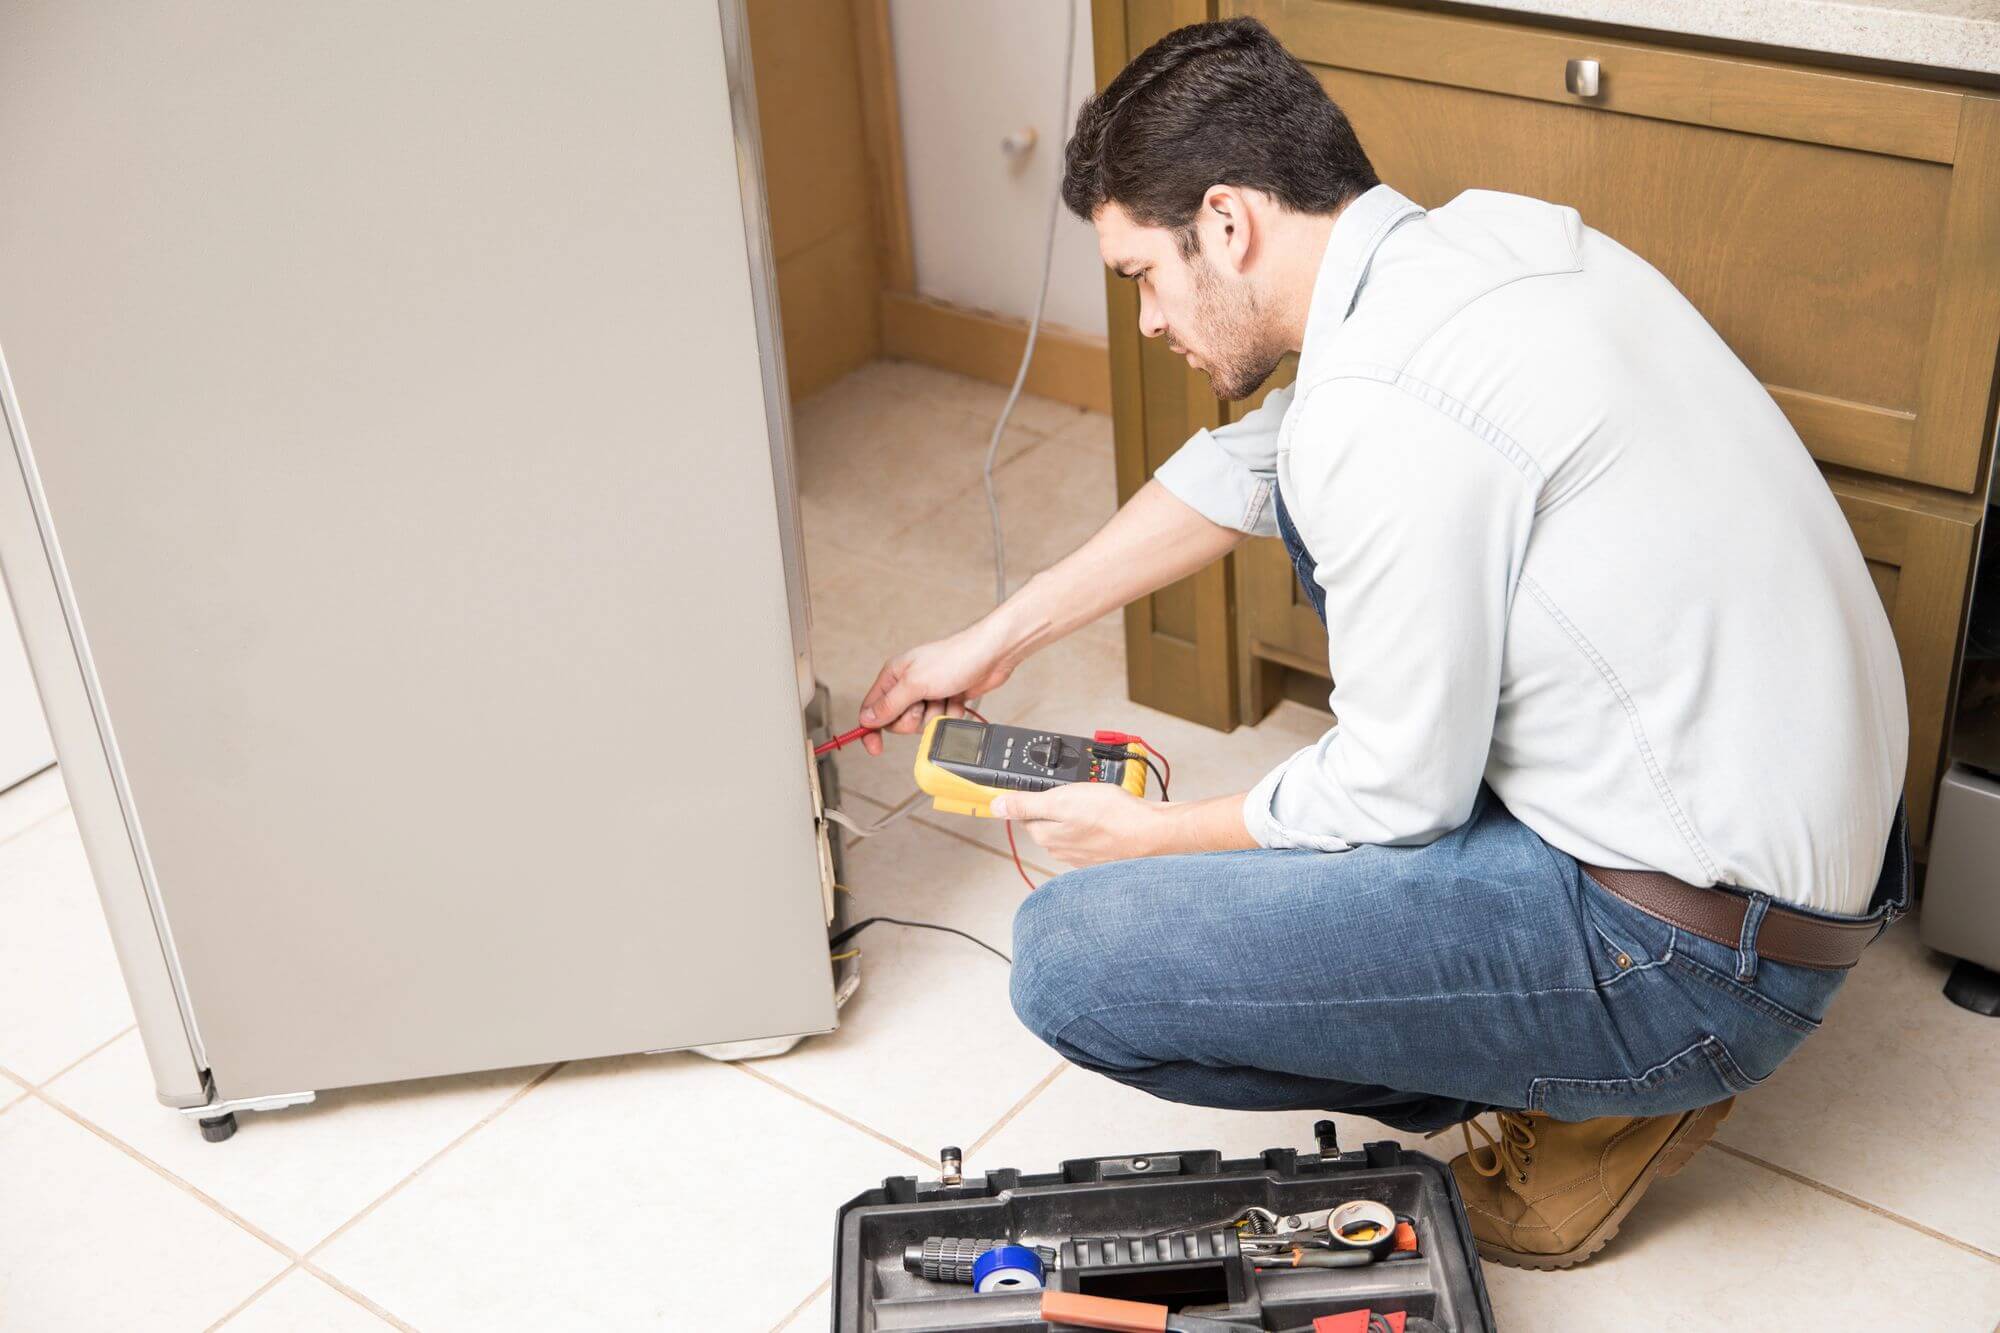 Top Reasons Why Your Refrigerator Is Not Cooling
A refrigerator is an essential appliance in any household, and when it stops cooling correctly, it can cause a ...
 Comprehensive Guide To Central Heating Systems
Imagine stepping into a toasty home on a chilly winter day. The comfort of central heating is a modern marvel, ...
 How To Fix A Freezer That’s Not Working?
A malfunctioning freezer can be a source of significant stress. Visions of thawed and spoiled food dance in yo ...
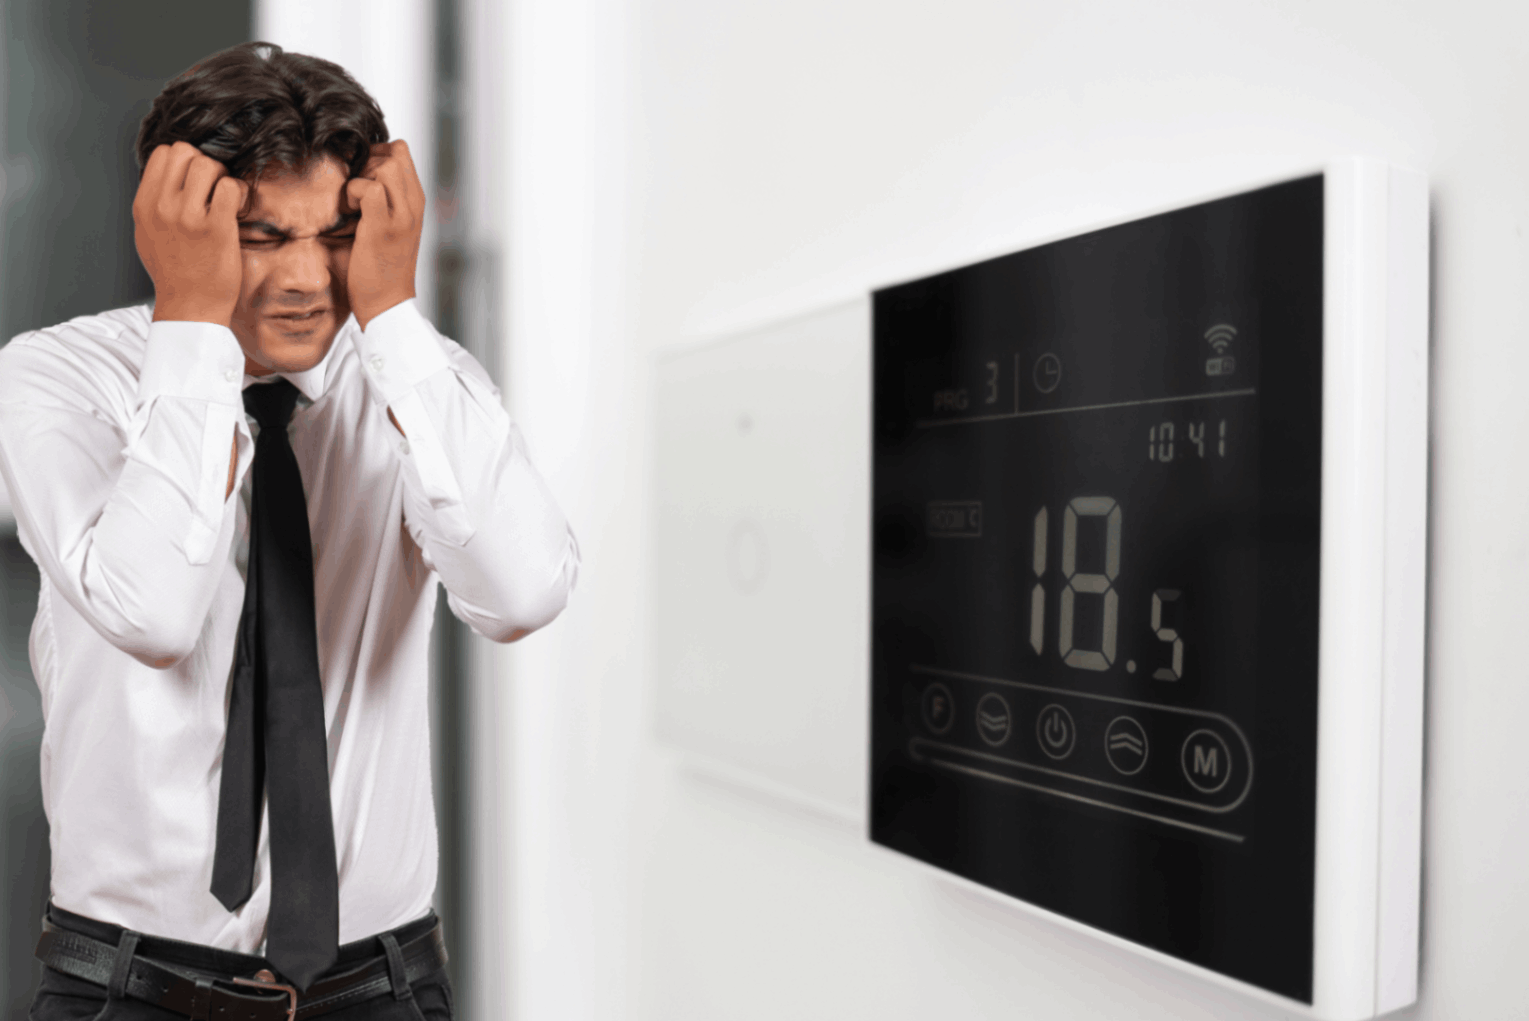 Common thermostat issues and fixes
Thermostats are essential for maintaining a comfortable indoor environment, whether in a residential or commer ...
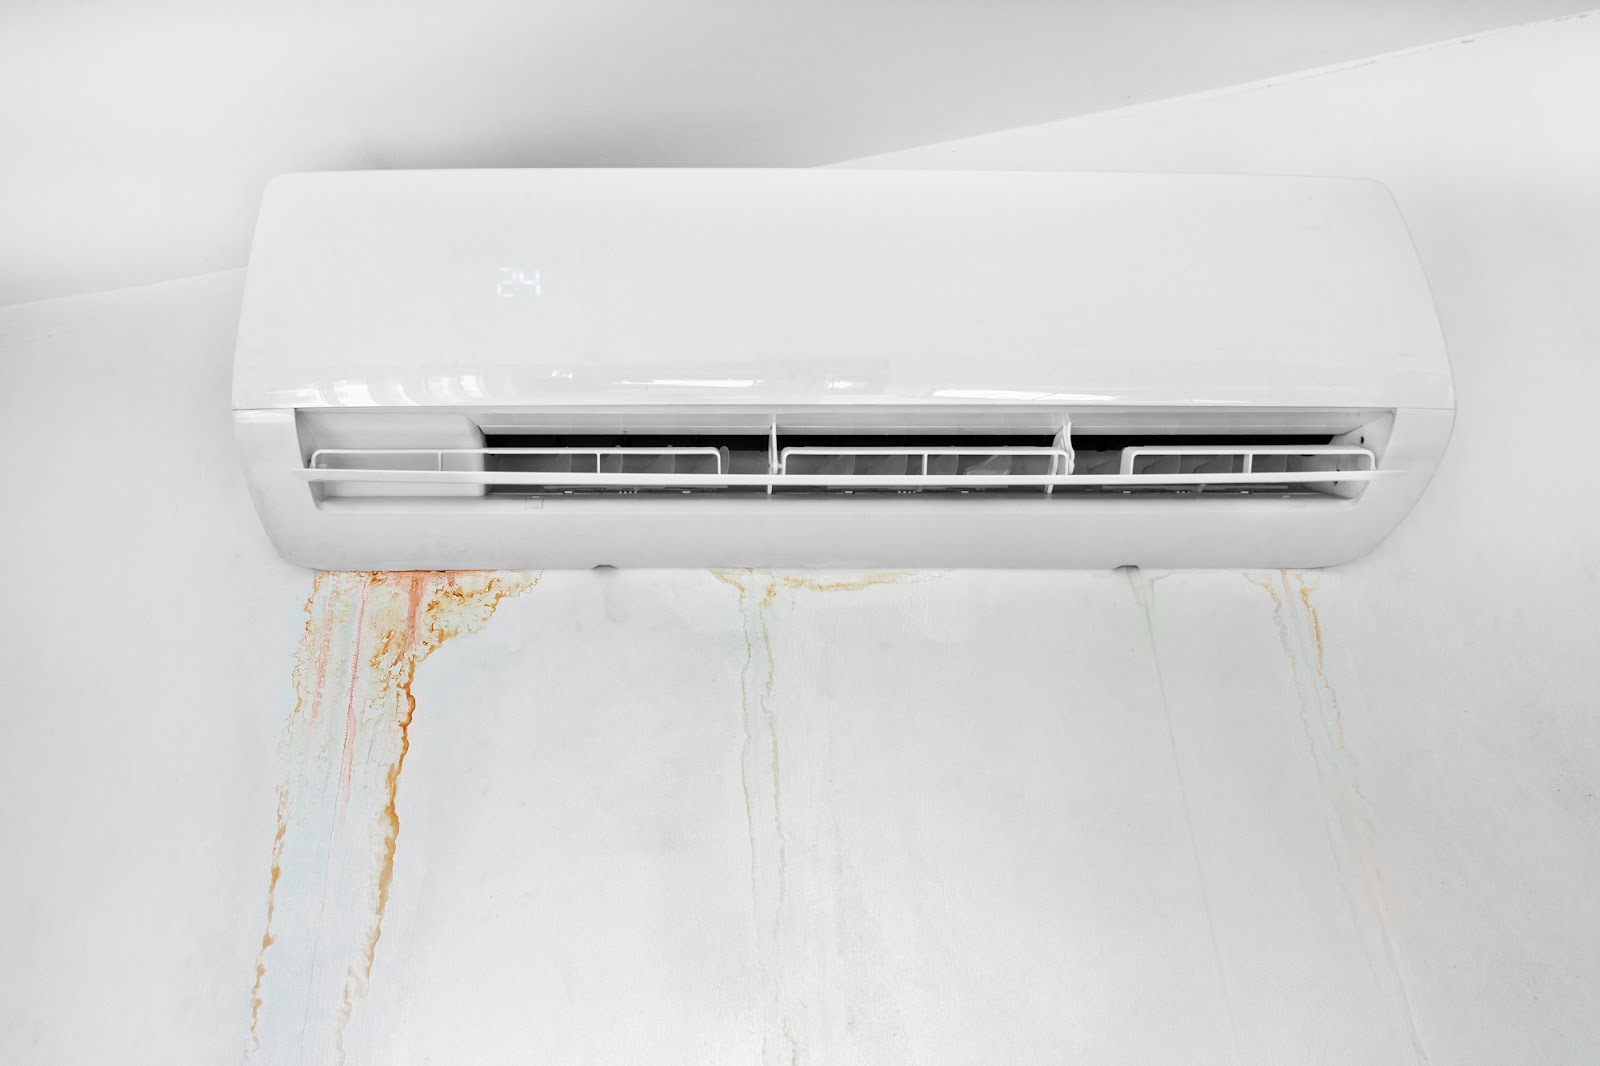 Quick Fixes for Air Conditioner Leaks
Air conditioner leaks can be a nuisance, affecting the efficiency of your cooling system and potentially damag ...