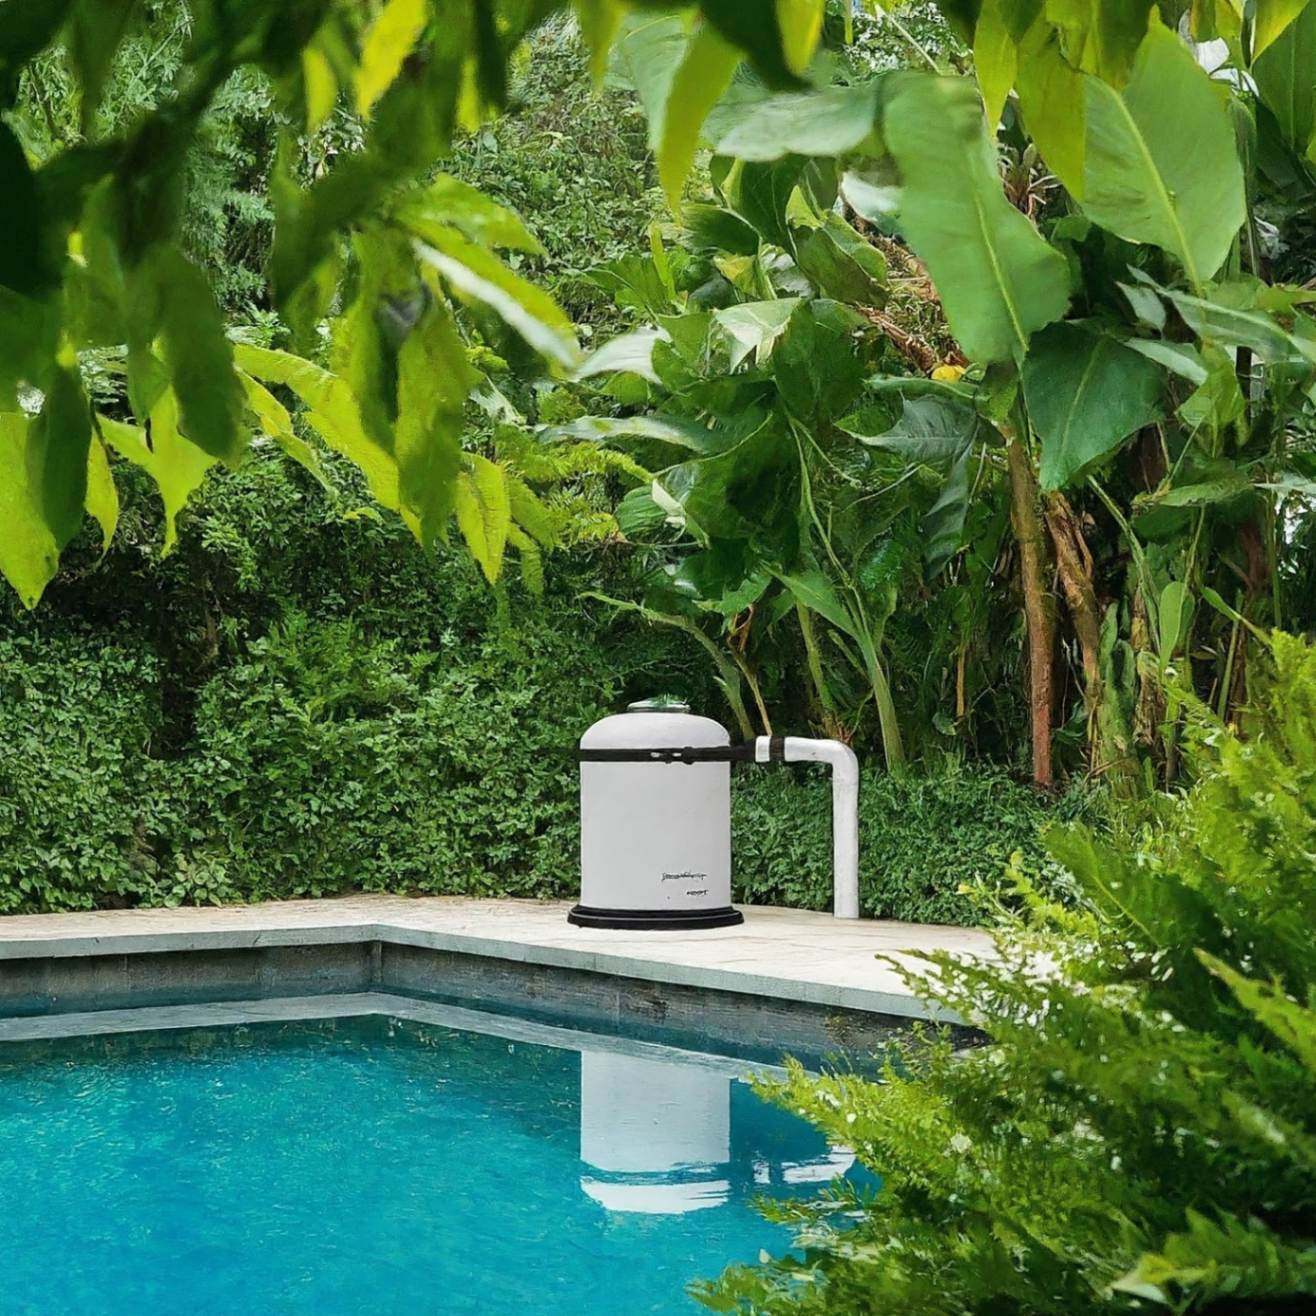
 Pool Pump Guide 101
A sparkling pool adds beauty and recreation to your backyard, but keeping it that way requires a dedicated wor ...
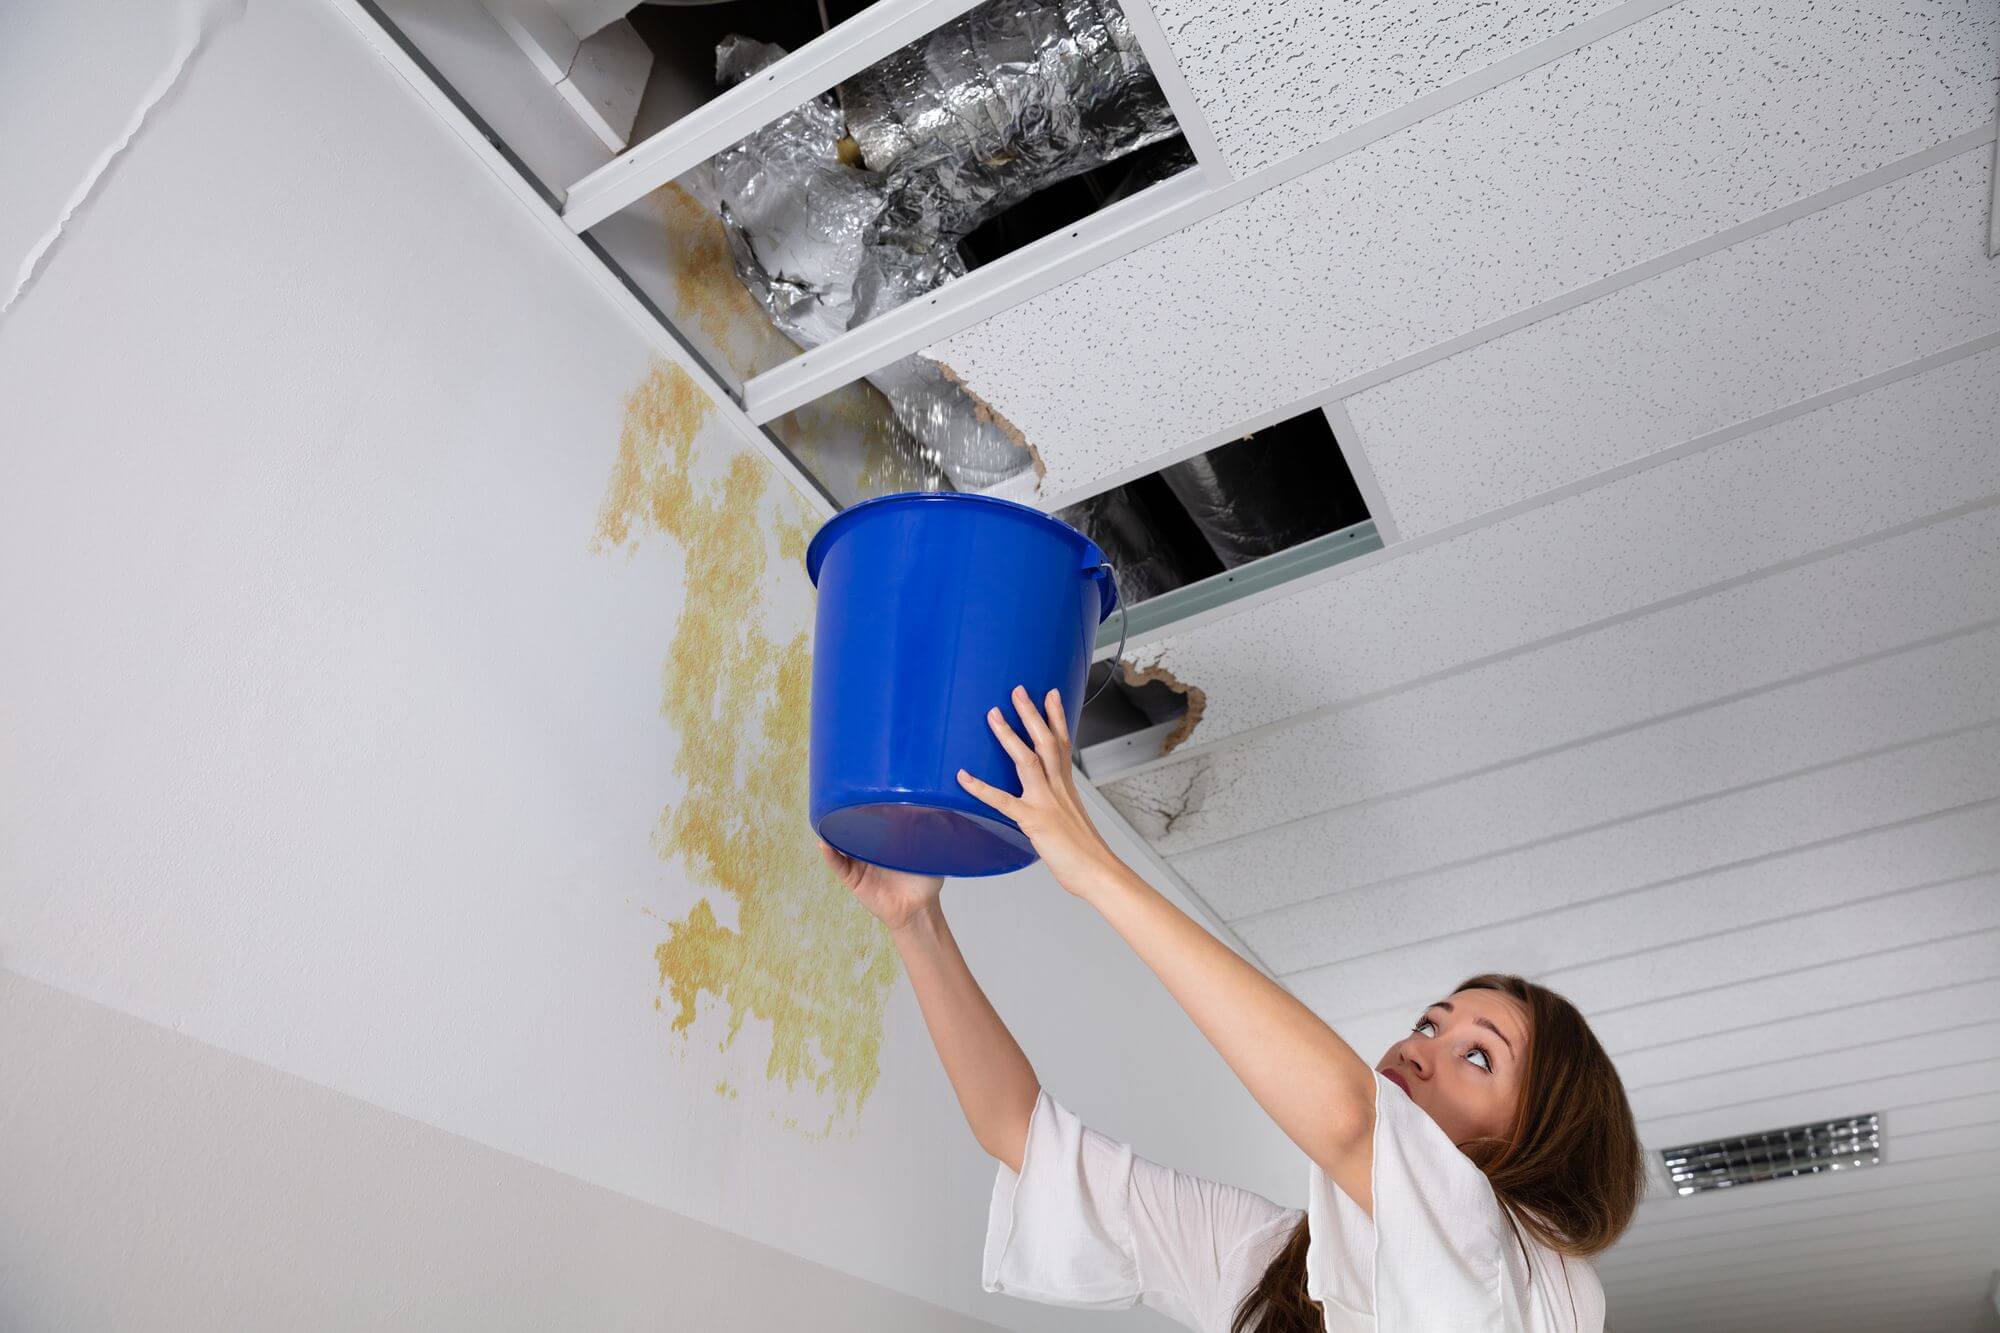 Identifying and Fixing Ceiling Leaks
Ceiling leaks and water damage are common issues homeowners face, but they can lead to significant structural ...
 Common Landscape Drainage Problems And Solutions
Landscape drainage is a crucial aspect of garden and yard maintenance. Proper drainage ensures that water does ...
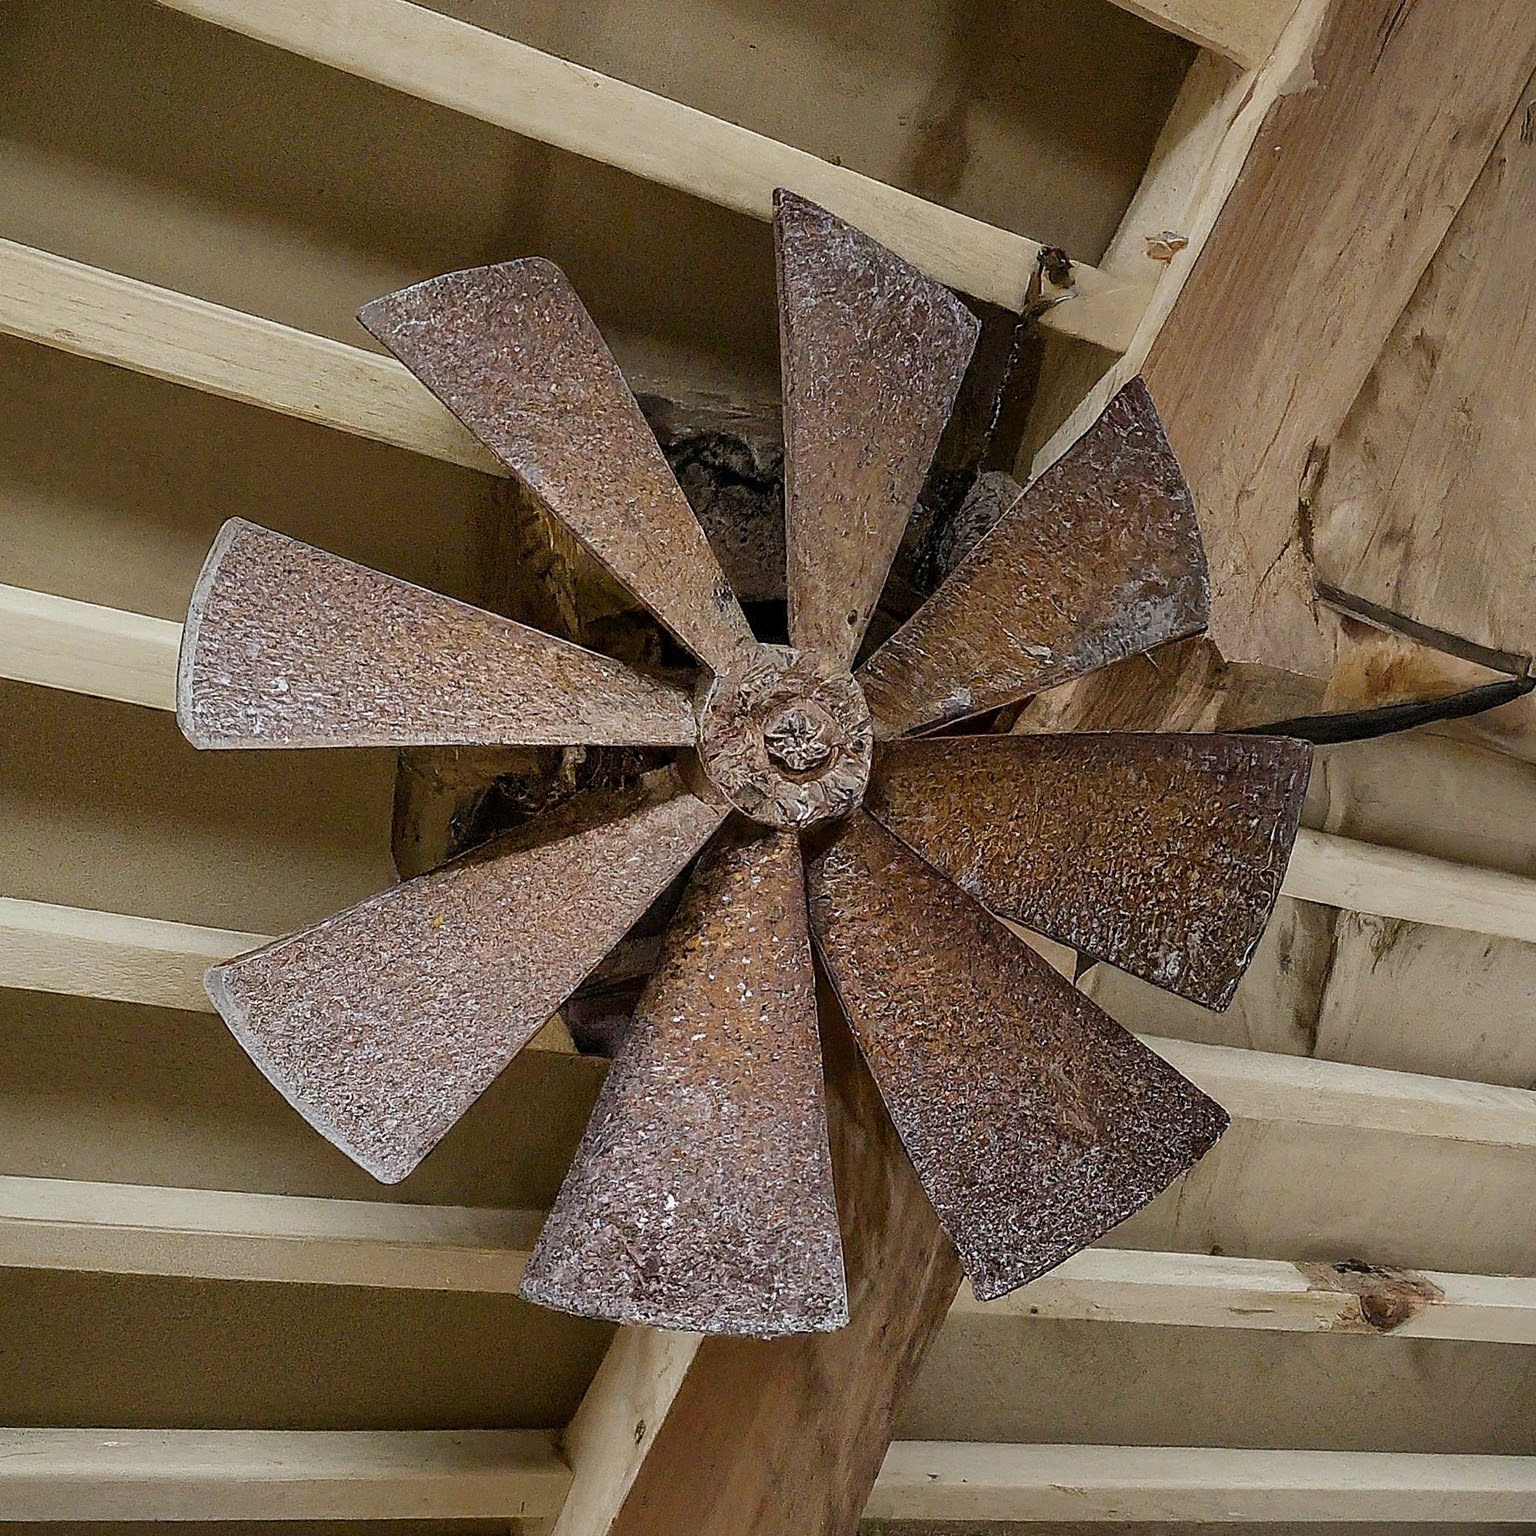 Attic Fans’ Common Problems & Solutions
Attic fans are essential for maintaining proper ventilation in your home, helping to reduce heat buildup, and ...
 Top Home Maintenance Tips
Owning a home is a significant investment, and regular maintenance is crucial to ensure it remains in top cond ...
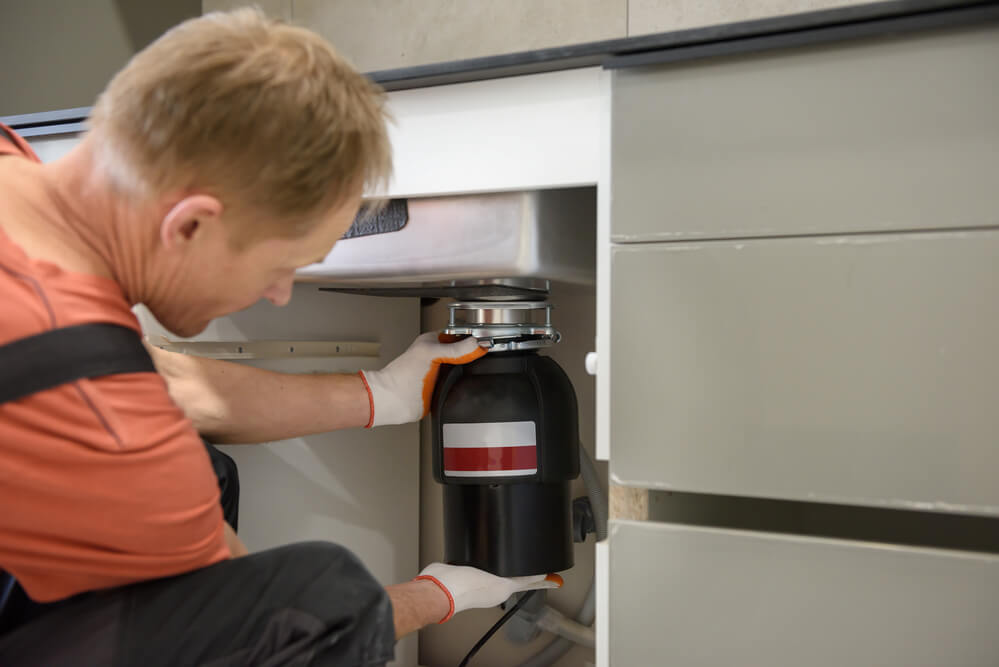 Troubleshooting a Garbage Disposal
Garbage disposals are convenient kitchen appliances that grind food scraps, reduce waste, and clear the sink d ...